Arguments have raged for decades over how to handle “phonics” — the sound/symbol relationship. The pendulum swings wildly between two extremes — whether or not to emphasize phonics in teaching reading.
But the question should not be WHETHER — but HOW and WHEN we emphasize phonics. For of course we need to know the connection between letters if we are to spell, as well as “sound out” unfamiliar words as we read.
So, my strong recommendation is not to teach phonics in isolation, as if it were something like the multiplication table. But to incorporate it into the Key Word writing process — as a tool for spelling.
For as with most other things, phonics is best learned through use within a meaningful context. For through use, the sound/symbol relationship can be absorbed in the same natural way a child learns to speak.
Further, teaching phonics in isolation — especially as the first step toward reading — can be very confusing for a child. Particularly a child not coming from a print-rich home environment. For why, see A “Natural” Approach.
Two basic types of activities to develop phonics skills
We can develop phonics in two basic ways, by —
1. Emphasizing the individual sounds through “phonemic awareness activities.” These are group activities to help children become aware of the different sounds we are speaking — so that they notice, hear and differentiate between the different sounds.
2. Emphasizing the sounds and letters needed to spell Key Words, plus the sentences and stories associated with them. Beginners are asking someone else to write their special, Key Word, for them. As they watch, the adult says the name and sound of each letter. Later, a child writing independently can use phonics materials for spelling, especially if the system they use lends itself to that.
More about both of these activities is detailed below. But first, let’s look at how two different phonics charts/systems can help the child learn what letters are needed to make the various sounds.
“alphabet noun” charts and “story sound” systems
There are two basic types of phonics materials: alphabet noun charts and story sound systems.
Most classrooms have alphabet noun chart: A is for Apple, B is for Baby, C is for Cat, etc. These are good for learning the alphabet. And they help the child learn the most common way to spell each sound.
But they don’t show the uncommon ways some of the sounds can be spelled. (As in fun and phone.) So they’re not as useful as they might be when it comes to spelling. For as we all know, some of the sounds spoken in English can be spelled in several different ways.
So while the noun charts are helpful, they are also limited.
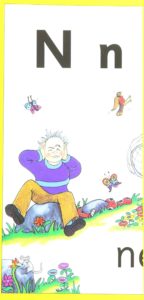 The other type of material — a story sound system — has charts for all the sounds spoken in English. Each chart connects a sound to the story that’s depicted in the cartoon.
So for instance, the story in the sound chart here could be that the insects and birds are buzzing around the man, making an “Nnnnn” sound. So it’s making him feel a little crazy.
And the sound charts are used to show how to spell a sound not just in the most common way — but in every way possible. This chart will show that “Nnnnn” is spelled “N” as in Nose — and “KN” as in “Know.” See more about this in the section below describing the Wall Strip Dictionary.
which type of chart/system should you use?
The noun charts will work to a certain extent. With them, the adult says the letter name and makes the sound associated with each letter as they write the child’s Key Word.
Given repeated experience with this, the child will automatically absorb the connections, especially between the sound and the common way to spell it. And once they begin writing independently you can show them how to record the words they need — in a traditional dictionary.
So you do not need to use the more complex, story sound system. But since a sound system can be very effective for spelling, I recommend you consider it.
So to help you decide, I will explain in detail where to find a sound story system and how it works.
sources for sound phonics materials
I’ll be using the cartoons I made when I was teaching, to illustrate how a sound system works. But I can’t share mine, as I traced some of them from children’s coloring books I had purchased for that purpose. And those originals are still protected by copyright.
So for those of you who decide to go this route, I can suggest three alternatives: two free to you and one that’s surprisingly inexpensive.
First, the Open Court reading program has sound charts, so if you’re teaching, perhaps you already have them available somewhere in your district. Also, the Baretta-Lorton Foundation has generously authorized me to provide here a free copy of a set of Baretta-Lorton sound charts. The drawback to theirs, though, is that it takes some work to prepare it for use. (Print out a set by following a link in the footnotes on this page.)*
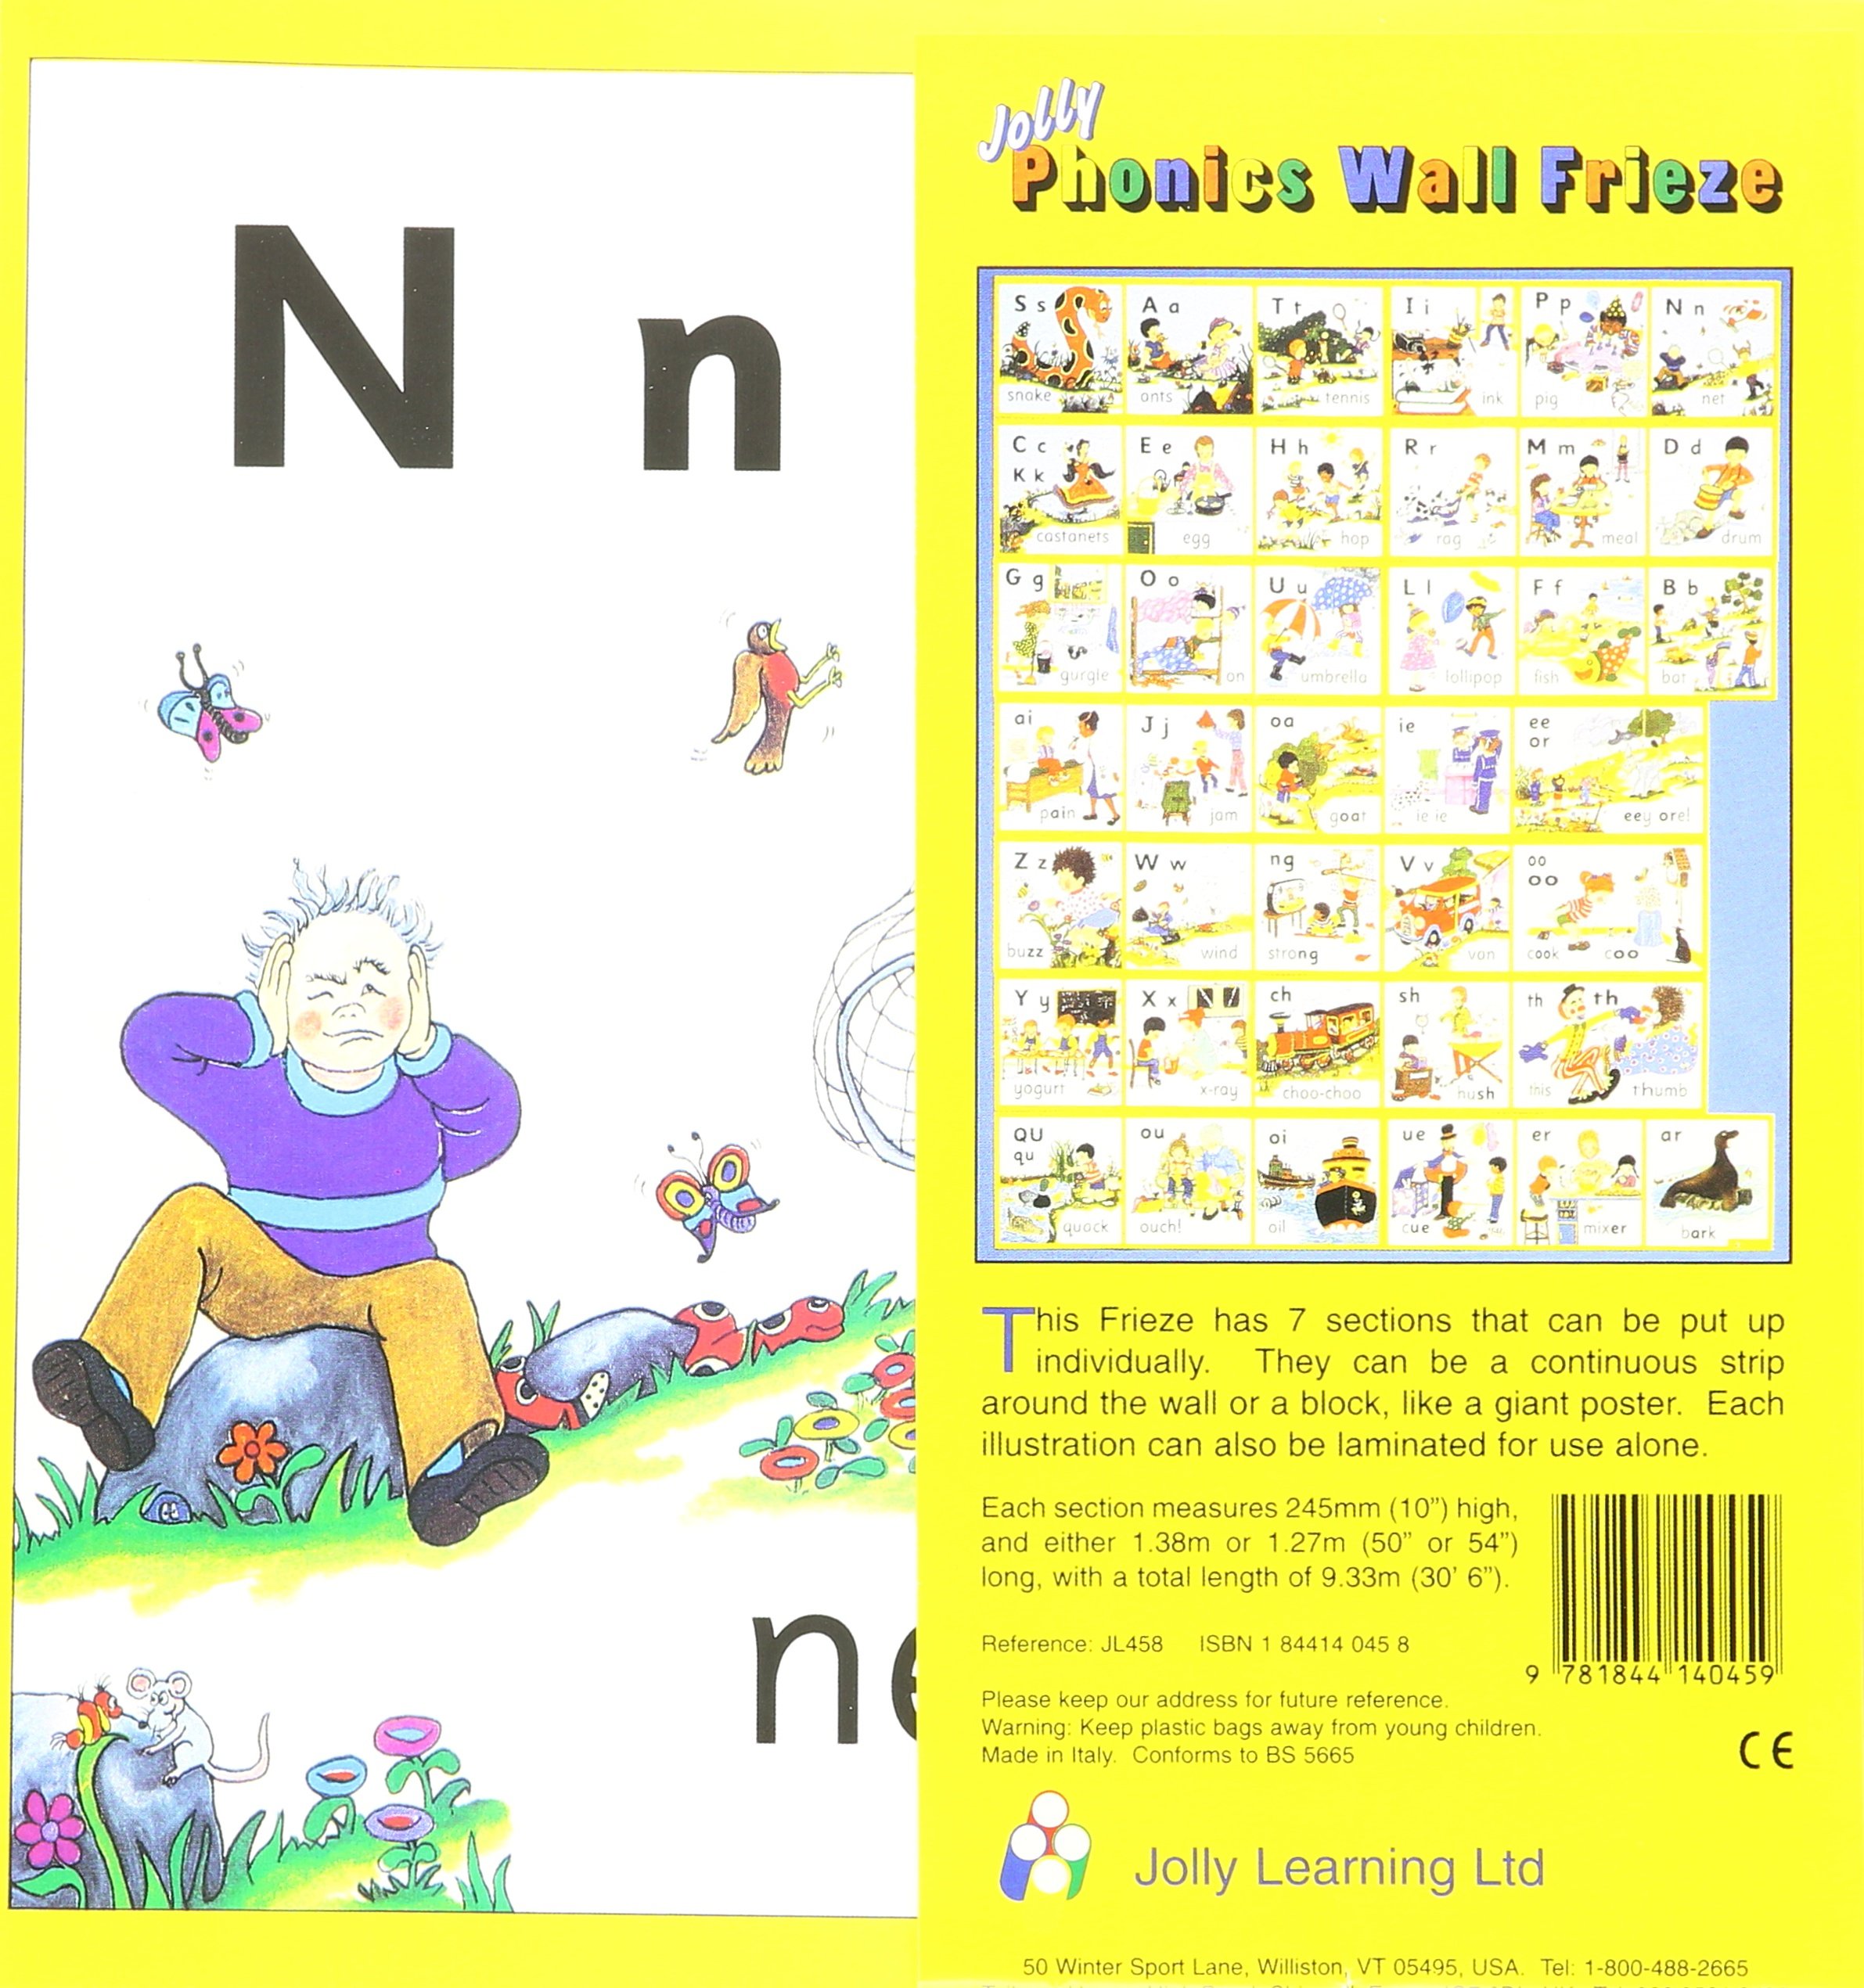
Finally, thanks to a tip from a member of the Facebook Group I administer, Helping ALL Kids Write To Read, I learned of a set published by Jolly Learning. It’s available from Amazon for under $15. Here’s an example from that set:
Process with a sound system: first tie stories to sounds — later, connect the letter(s)
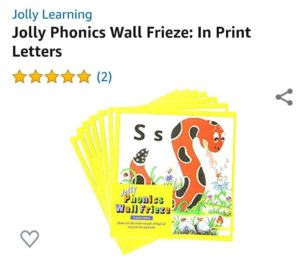 The snake is another example from that collection. Note that the “S s” is to show that the snake is making the “Sssss” sound to scare someone away — not because “snake” starts with that sound. And that’s the important difference that makes a sound set so versatile, as you’ll see below.
Even though the letter is there, we don’t mention it when introducing the stories.
A child who just happens to notice the letter may make the connection during the introduction. But we don’t try to connect the letter to the sound until later, as we write the Key Word an individual child has asked for.
Following is how to use any version of a sound system you might find.
introduce sound phonics cartoons with Phonemic Awareness Activities
With any system, you first need to make up your own stories — something suggested by the picture. The stories will be different in different countries — even cities within a country — depending on what will resonate with the children living there.
Once you have decided on the stories, following is how the introductions in my classroom went.
Before introducing each day’s new sound, we reviewed previous sounds by showing the cartoons in quick succession while the group called out the sound. (I might also mention the story briefly, but it was not usually necessary.)
Then I introduced the new cartoon, only one a day, referring to it as “Today’s Sound.” We began with consonants and proceeded from there.**
For the new sound, I told a very brief story suggested by the cartoon, ignoring the letter that appeared on it. So the focus was only on distinguishing the sound itself, plus connecting the story to the cartoon.
 Once the children heard the story, we played with the sound in a variety of ways:
-
-
-
- Feel the sound, as children in the image are feeling how the “Nnnnn” sound vibrates their nose,
- Identify whose name begins with that sound,
- Listen as each child substitutes Today’s Sound for the beginning sound of their name,
- Identify something that begins with the sound. This might be one of their own physical attributes or an article of clothing they’re wearing. Or it might be watching as a child goes to find two things in the room that start with the sound.
-
-
Immediately following this play, we would place the cartoon in a place of honor and refer to it during the day and just before dismissal.
Common Sounds: beginners Use the sound charts to help spell ONE sound in their Key Word
Once the stories for all the cartoons had been introduced, I had a reduced version of the large cartoons made. These were small enough to fit all of them together on one chart for the wall.
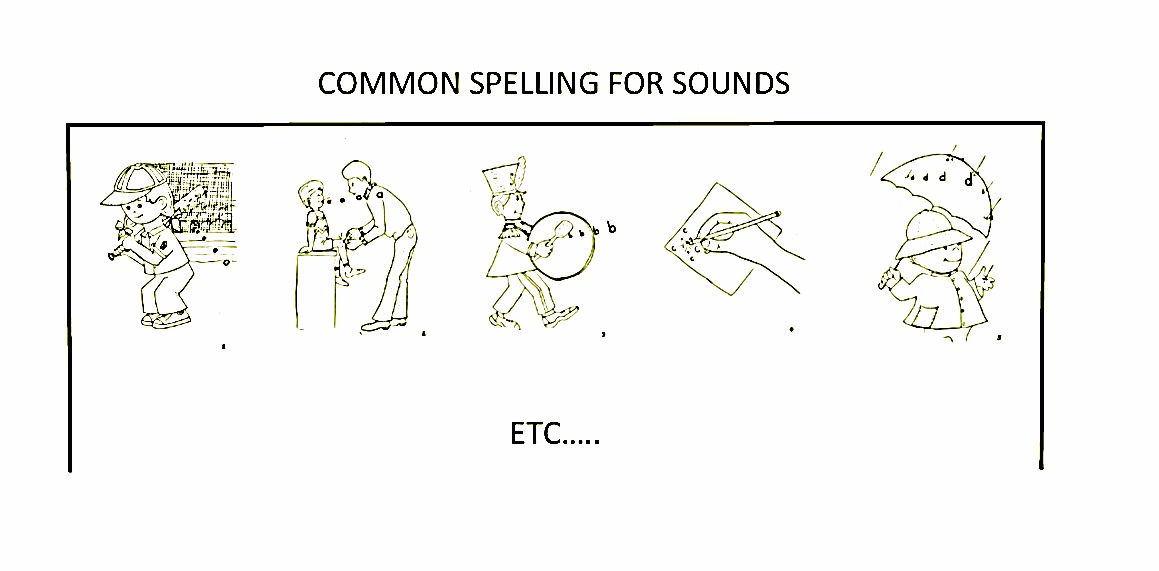 With a child operating at Steps 2 – 4, we searched for one new sound to emphasize as we wrote their Key Word that day.
So as we wrote the word, we “grew” it by repeatedly adding to and saying/blending together the sounds we’d printed the letters for — so far. Then we would emphasize the next sound needed and hesitate — waiting to see if they could tell us the letter needed to spell it.
When we reached a sound they didn’t know how to spell, we would ask whether they remembered which picture made that sound. If the child did not remember, the we would remind them of the story.
But if we did ask the child to supply one, they would leave the table, find the picture on the chart that evoked the sound needed, note the letter, and return to the table.
Before the aide/volunteer would write it, the child first had to form the letter on the table — with the index finger of their writing hand.
If the child had forgotten the letter by the time they returned, they had to go back and look again.
With having to connect the sound together with the letter for that long, they would usually remember that connection the next time they needed it.
wall strip dictionary: Independent writers use the sound cartoons for spelling
Children at Steps 5 and 6 used the cartoons on a Wall Strip Dictionary when they needed to know how to spell a word.***
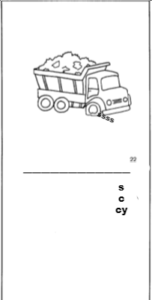
These living dictionaries were an extremely valuable tool for spelling. We did not use spelling books or spelling tests, yet my children became excellent spellers.
Each dictionary strip was hanging from a cup hook within easy reach of the children. They were placed in alphabetical order, according to the cartoon heading it. When a child needed to spell a word, they would walk along the row of strips and find the cartoon for the beginning sound of the word they needed.
First, they would look to see whether the word they needed was already written on the strip (because someone else had previously asked to have it written there). If yes, they would take it to a table and copy it.****
If the child did not find the word there, they would take it to a helper. First that person would check to see if the word actually was not there. And if it was there, they would cover the words below and above it — leaving 4 or 5 words showing for the child to choose from. Most of the time, the child would recognize the one they needed.
If the word was not there, the child would try to help supply the letters needed, as the helper wrote the correct spelling. (Children were not allowed to write on the strips.)
more ways TO HELP THE CHILD WITH PHONICS/SPELLING
Please rest assured you do not need to have in mind all the different ways the 42 sounds can be spelled. If something is missing from your chart set, you can add it in response to a child. For example, a child asks how to spell “cyclone.” But“cy” is not already on the wall strip dictionary. So you simply add it below the “S” and “C” already on strip. (In one case I found a sound that was spelled 7 different ways! I can’t remember now what it was…. I just know I was surprised.)
You also may not be able to hear all the sounds represented. Linguists say there are 44 sounds spoken in English. But I could only hear/distinguish 38, so that’s the number of cartoons I had.
So if you can’t hear all in your set, just set the ones aside that don’t make sense to you — and work with the rest. (The day may come, though, when someone asks for a word spelled using a combination of letters on a chart you’ve set aside. If so, you can introduce that chart to the children then.)
As the children were writing independently, the rule was: looked elsewhere for spelling before you come to someone older for help. The children had a variety of sources: their collection of Key Words and sentences, and charts posted on the wall.
One such chart was of Frequently Used Words. Click here for a printable, PDF version.
In addition, we displayed most group-dictated charts somewhere in the classroom within easy view. So a child could search there for spelling, and it was not unusual to see a child standing in front of the chart of a song or poem they knew, mumbling it to find the word they needed.
I didn’t need to decorate our walls — they were covered with songs and poems we had learned, as well as the latest few charts of “Today’s News.” (I had my parent-volunteers and cross-age tutors make these charts.)
children learned to write — then read — in much they same way they had learned to speak
We created a print-rich environment that served as a resource for writing. Children developed phonics skills as we modeled how to write their own thoughts. Then they gradually expanded those skills to write independently.
Reading emerged from the writing process. From the very beginning, they were “reading back” their Key Words. Soon they were “reading back” their sentences, too. And after that they were reading their own writing and noticing they could read words in the writing other children were doing.
That all spilled over into signs, simple notes — and eventually books. See how we handled book reading in Moving Into Books.
So bottom line, the children learned to read in much the same way they had learned to speak — by absorbing, then practicing phonics and other skills in meaningful context.
___________________
* The Baratta-Lorton foundation has generously authorized me to make available on this website a full set of their cartoons. The drawback is that you would have to copy and color them yourself. Here’s the complete set of printable, Phonics Sound Cartoons by Baratta Lorton.
** With groups, we introduced the sounds as follows: consonants, long vowels, short vowels, and sounds made by 2 or 3 letters blended together. As we wrote Key Words, we tried to follow the same basic plan. But it wasn’t always possible, so then we’d either decide to show them a more complex spelling than we ordinarily would, or we’d just skip asking them to supply any letter for that day. In that case, we’d just supply the ones we thought were too complex and compliment them on knowing all of the others. (Please note that the charts provide these sounds made by combinations of letters — you don’t need to think of them from memory, ahead of time.)
*** The dictionary strips are approximately 3 inches wide and 2.5 feet, or the length of large chart paper.
**** Then after copying the word they needed — remarkable as it sounds when I think back on it now — they would always immediately hang the dictionary strip back up on the cup hook again. Surely it must have happened, but I can’t recall a time when a strip was left out somewhere on a table. This was no doubt due to the fact that they had all practiced returning it during the Montessori-inspired, Silent Demonstration I used to introduce it to each child. More about the rather amazing power of Silent Demonstrations in Preparing For the Active Work Period.
